
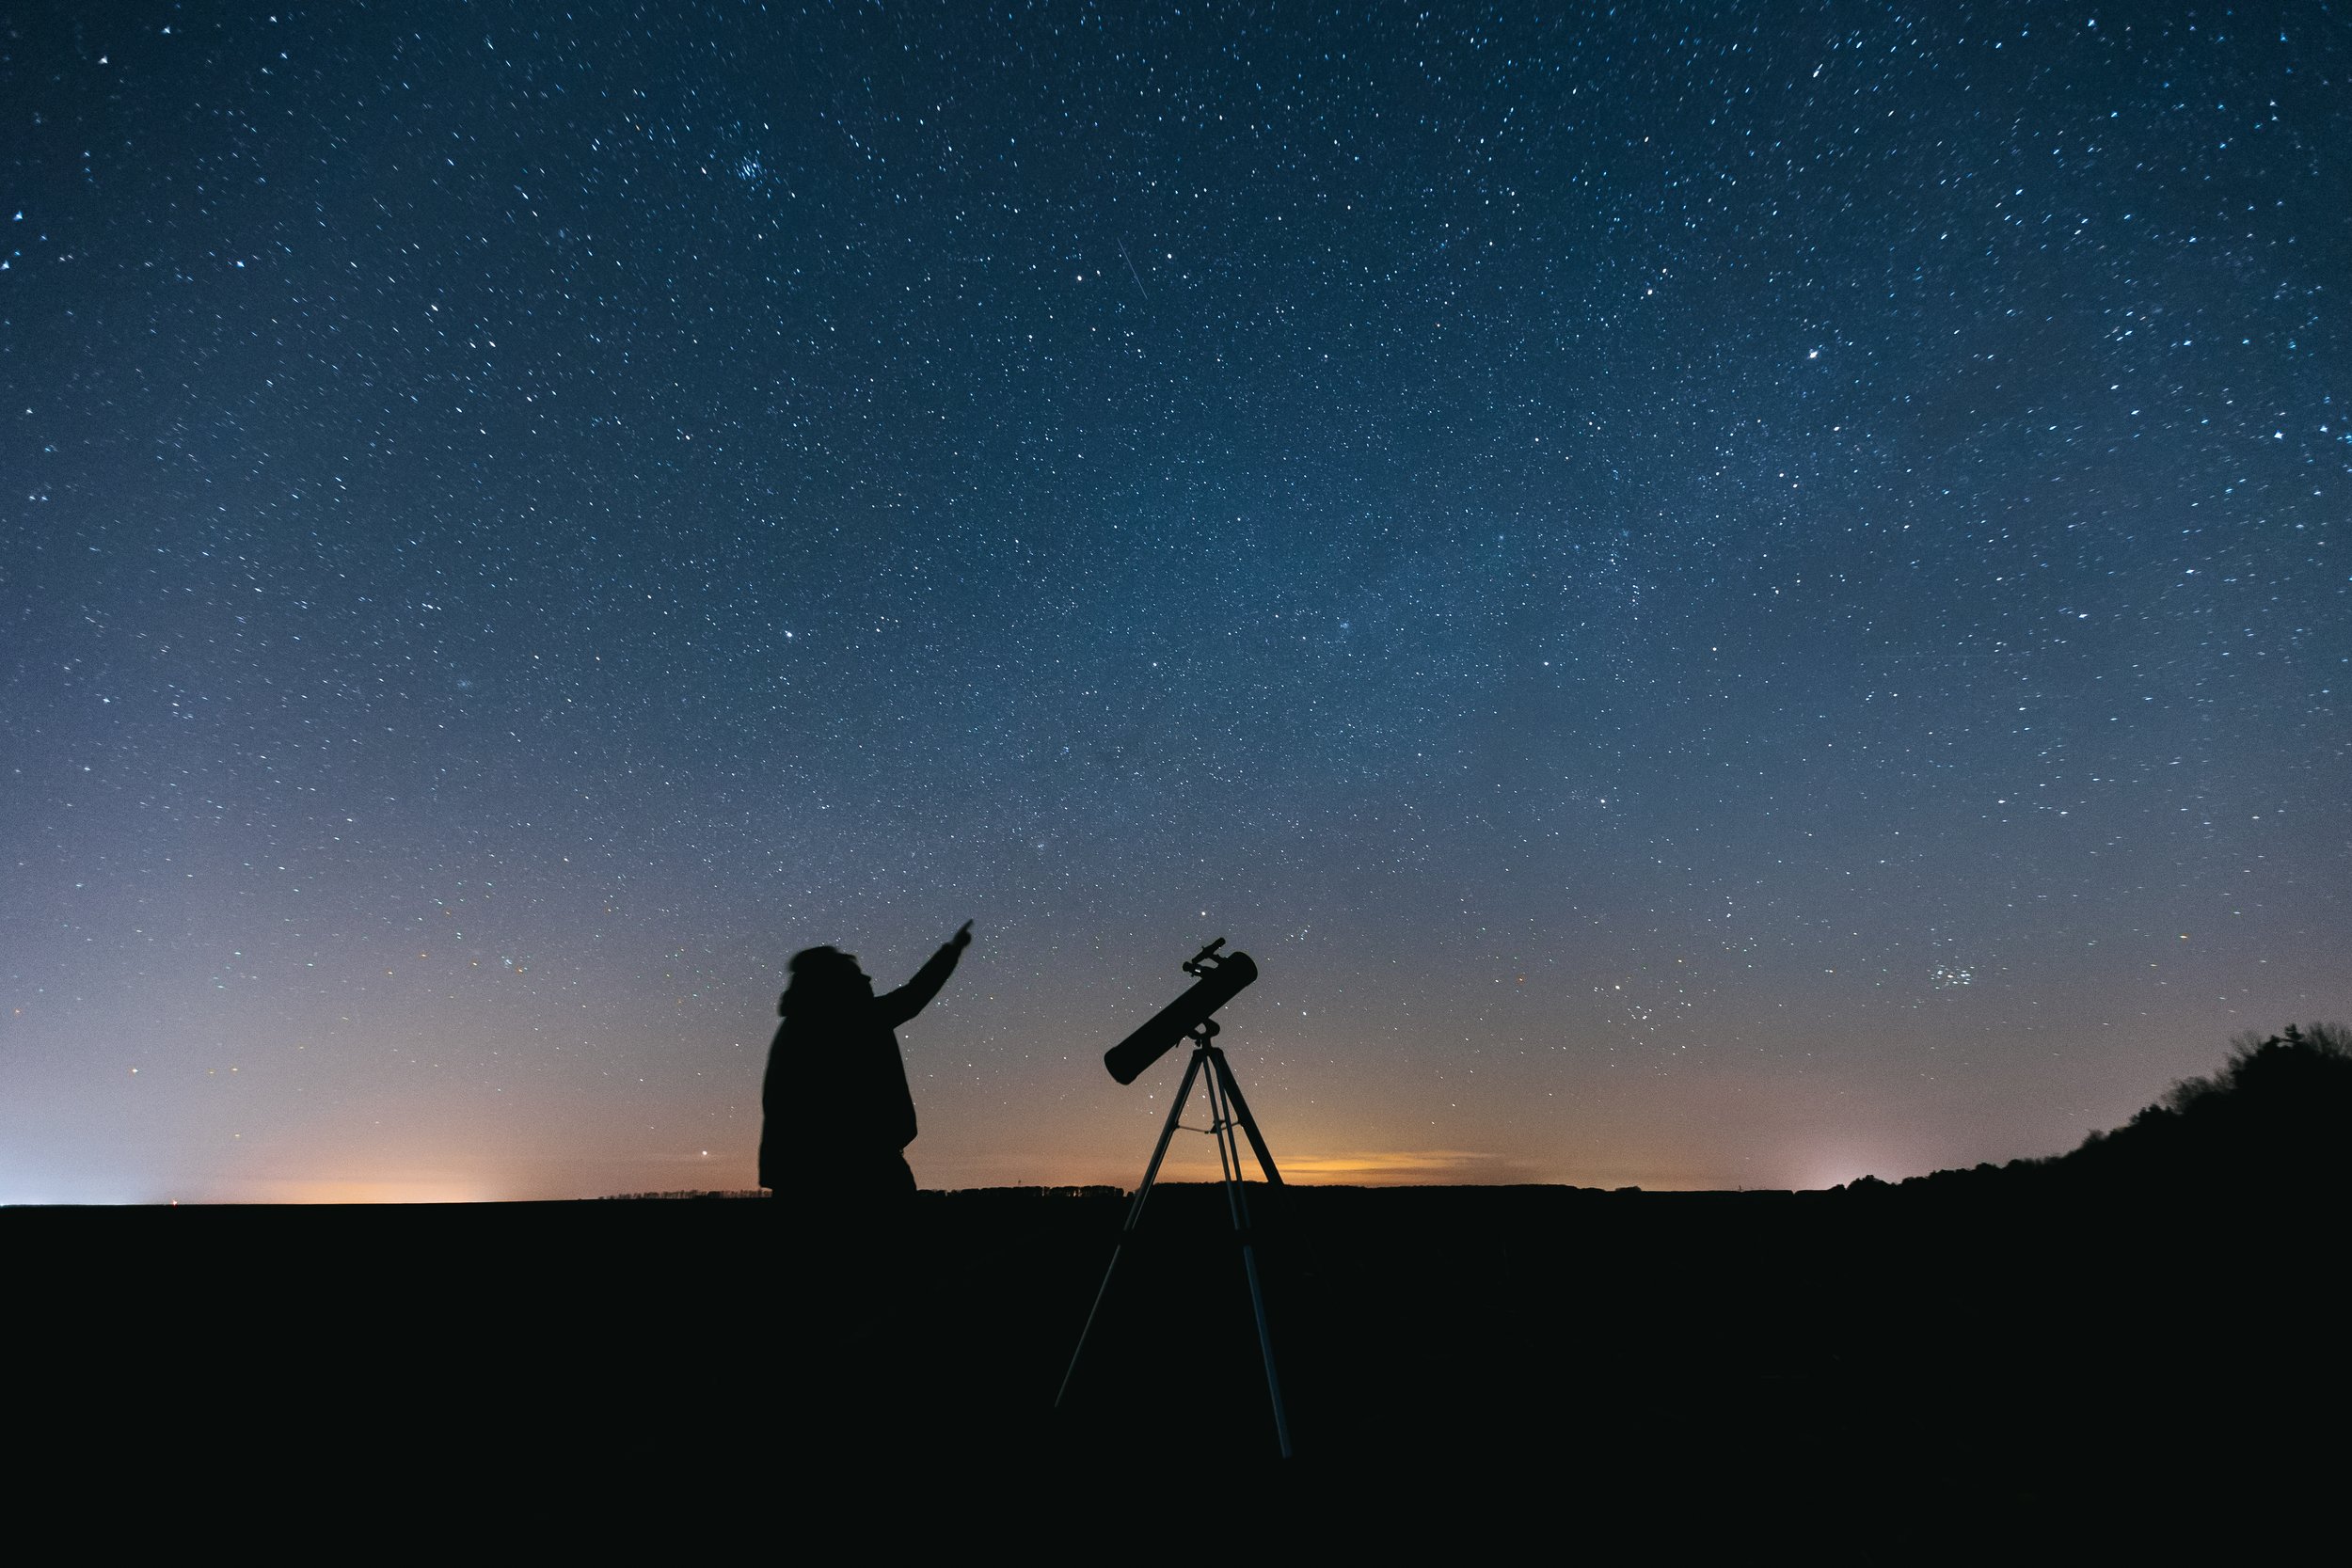
Telescope Basics
Everything you need to get started with a telescope under the night sky.
If you are considering buying a telescope, check out Binocular Basics first!


1. Setting Expectations
View of Bode’s Galaxy (M81) in a telescope from typical suburban skies. The core is visible but the spiral arms are faint wisps.
The views seen through an eyepiece are not the same as images taken through a telescope.
The moon looks far better live than any image and can appear as a 3-D ball in space at low magnifications. The brighter planets will appear small but sharp and are comparable to images taken of them. Open and globular star clusters look comparable to images of them but will have fewer stars visible overall. Nebulous and diffuse objects with very few exceptions will be colorless and low contrast. The view of a galaxy through a telescope will show a brighter central bulge with the extensions such as spiral arms being much fainter and wispy in nature.
Images taken of space often involve gathering light for tens to possibly hundreds of hours before producing a processed final image. The human eye is more sensitive than cameras but the image you see only gathers light for less than 1/20 of a second.
Your eyes have two types of cells rods and cones. The cones are more concentrated in the center of your field of view and the rods are more prevalent away from the center of vision. Cones are less sensitive to light but help you see more detail and color. Rods provide vision that is less sharp but allows you to see in low light conditions with their higher sensitivity. Rods however do not help you see in color but only in black and white. Due to how dim many objects in space are, there is not enough light in 1/20s to trigger the cones in your eyes but enough to trigger the rod cells. This means the view of dim nebulous objects is black and white even if an image of the object shows many colors.
There are three common types of telescopes, each with its own designs, benefits, and drawbacks. The aperture of a telescope is the size of the opening that collects light. This is usually the diameter of the primary element in a telescope and can be a lens or a mirror.
The first telescopes were refractors with a primary lens in the front and an eyepiece in the back. Modern refractors often have multiple glass elements to improve the quality and color of the image. A good refractor such as an apochromatic can produce stunningly sharp images but will quickly become very expensive with larger apertures.
Refractors can be prone to color aberration due to the different wavelengths of light being bent by different amounts like in a prism. Modern refractors no longer have this as a major issue due to multiple-element designs but astronomers looking for a way to create an image without lenses developed the reflecting telescope. By using mirrors the colors of stars were no longer split into their constituents and allowed for much larger telescope designs. The light goes from the front and hits a primary mirror in the back, reflects and travels back to the front to a secondary mirror, and typically out the side at the front to an eyepiece. This is the most cost-effective design for larger apertures. All large modern observatories use reflecting telescopes.
The last design, a catadioptric, is a combination of the refractor and reflector and allows for a longer focal-length telescope to fit into a smaller package. It does this by having the light travel a longer path inside the tube due to the combination of lenses and mirrors. The most common type of catadioptric is the Schmidt-Cassegrain.

2. Types of Telescopes
Commercially available telescopes come in two main types, altitude-azimuth, and equatorial. These mounts can come in manual varieties or computerized go-to systems that can point and track automatically once set up.
An altitude-azimuth or Alt-Az telescope is a mount that moves the telescope up and down (altitude) and left and right (azimuth). Alt-Az mounts for small telescopes are typically placed on top of tripods. Dobsonians, a type of Alt-Az design for reflecting telescopes popularized by John Dobson, are the most common mounts for large reflectors and are the most popular style of telescope. Dobsonians are the most cost-effective way to have a telescope with a large aperture.
Equatorial mounts are designed to easily track the stars to compensate for the rotation of the Earth. Alt-Az mounts require moving both axes to follow an object while an equatorial mount requires rotating only one. An equatorial mount needs to be aligned such that its “Right-Ascension Axis” is parallel with the axis of the rotation of the Earth. Once an equatorial telescope is aligned only this axis needs to rotate to track an object in the sky. Almost all astrophotography setups use a go-to equatorial mount to track objects and allow for long-exposure photography.

3. Bases and Mounts


4. Focal Length and Magnification
The Andromeda galaxy at 20x (left) and 10x (right) in a small telescope.
The focal length of a telescope is the distance from the primary element to where the view is formed. The longer the focal length the higher the more magnified the view will be in a given eyepiece.
The magnification of a telescope is the focal length of the telescope divided by the focal length of the eyepiece. For example, a 1200mm focal length telescope with a 10mm eyepiece yields 120 magnification. Using a 32mm eyepiece on the same 1200 focal length telescope yields 37.5 magnification. This means that longer focal length eyepieces actually have less magnification. The majority of telescope viewing occurs at low to medium powers from 40 x to 80 x. Planets are usually viewed between 100 x - 200 x.
When viewing an object always start with the widest view and least magnification. For the same telescope using less magnification will provide a brighter view of diffuse objects. Stars, star clusters, and a couple of nebulae and galaxies can benefit from higher contrast views at higher magnifications. Refer to the deep dive on magnification and exit pupil to learn more.
The amount of magnification that a telescope will support will be due to the size of the primary or aperture with bigger telescopes having higher resolutions and supporting higher magnifications. Telescope sizes 10 inches and larger are typically limited by atmospheric turbulence mottling views than their true resolution.

With telescopes size does matter. A bigger telescope will almost always provide sharper, brighter, and bigger views. The limiting magnitude or dimmest object able to be seen depends on the telescope’s aperture with larger apertures able to see dimmer objects. A telescope with double the aperture collects 4 times as much light as the diameter is increased by 2 x but the area by 4x. The resolution of a telecope is also linearly propotional to the diameter of the aperture with a telescope twice as large having a maximum resolution twice as small.
With small and medium telescopes, the light collecting area grows rapidly with small increases in diameter. A 5-inch telescope provides much better views than a 3-inch telescope. The difference between an 8 and 10-inch telescope (still only 2 inches in difference) however is much more marginal.
Telescopes tend to come in three size ranges. Small telescopes are those less than 4 inches and overlap in capabilities with standard and large binoculars. Medium-size telescopes have apertures ranging from 4 to 8 inches and in a dark sky will show you hundreds of objects including the entire Messier Catalog. In a dark sky, a medium-sized telescope will easily keep you busy for a long time.
Large telescopes typically classified as larger than 8 inches in aperture are large enough that their size and weight begin to become a hindrance and often lead to them being used less. Large telescopes often have longer setup and tear-down times and often benefit from a second person during setup. Large telescopes in a dark sky will keep you busy for a lifetime. A large telescope is needed for the use of filters such as UHC (Ultra High Contrast) and OIII (Oxygen Narrowband) filters for nebulae. A 6 or 8-inch telescope may be large enough for the use of filters on bright objects. Smaller telescopes do not collect enough light to produce acceptable views when a filter is used, dimming the image to the edge of visibility.
Eight-inch telescopes on the edge of medium and large telescopes are a sweet spot of weight, portability, and aperture. As the light collecting area goes up by 4 x when the aperture is doubled, the weight goes up by the cube leading to a telescope 8 x as heavy. The base of a 12-inch Dobsonian telescope alone weighs as much as an entire 8-inch. Refractors and catadioptric telescopes are significantly heavier than reflectors for the same aperture.

5. Telescope Sizes

In amateur astronomy, there is a class of low cost practically useless telescopes often denoted as department store-grade. If a new telescope costs less than $200 -$300 it is most likely junk. Do not buy a telescope from a store that is not dedicated to selling astronomy or photography equipment. Avoid brands such as Tasco and Bushnell. Low-cost telescopes that are enjoyable to use will typically be between $450 - $800. If this is outside your budget please refer to Binocular Basics.
The best telescope is the telescope that is used the most. Cheap low-quality telescopes that produce poor views and large complex telescopes with long setup and tear-down times rarely get used.
The best beginner telescope is an 8-inch Dobsonian reflector. A 6-inch Dobsonian is probably best for kids with a lower eyepiece height. A Dobsonian from most telescope brands will be essentially the same and feel free to choose the one with the accessories and price most appealing to you. Avoid single-speed plastic focusers and purchase a dual-speed metal Crayford focuser if possible. The additional fine control of a metal dual-speed focuser makes finding focus at high magnifications much easier.
High point scientific has a great assortment of astronomy equipment, and their most popular telescopes and accessories by Apertura are great. If you are purchasing your first telescope please do not supersize from an 8” to a 10” telescope. The additional weight and faster focal ratio make setup longer leading to 10-inch telescopes being used about half as often as 8-inch telescopes. An 8-inch is light enough for a single person to pick up its entirety while a 10-inch is not. If you live in dark skies I personally recommend a 6-inch telescope on an equatorial mount. Learning to use an equatorial mount will make entering astrophotography easier and even though it is smaller than an 8 or 10-inch Dobsonian, a 6-inch in dark skies easily exceeds a 10-inch in suburban skies.
I highly recommend against attempting any astrophotography unless you have at least a year of experience using a telescope. Astrophotography of any kind from planetary to deep sky takes years to master. “One does not simply take pictures of space.” Only a couple of expensive telescopes have built-in cameras and they don’t work that well.

6. Telescopes to Buy and Avoid

7. Focal Ratios
The focal ratio of a telescope is the focal length of the telescope divided by the size of the aperture. For example a telescope with 1200 mm focal length that has a 200 mm aperture has a focal ratio of 6 denoted as f/6.
The lower the number of the focal ratio the faster the telescope is referred to. This comes from photography where a lens with a low number for its focal ratio or low f-number, exposes the film or sensor for a shorter period of time. This is due to more light per area exiting a “faster” lens. With longer focal lengths for the same aperture the light is spread out more making the image dimmer, thus requiring a longer exposure for a camera.
An average telescope has a focal ratio between f/5 and f/7. These are “medium speed” telescopes. Long focal length telescopes such as Schmidt-Cassegrains are slow telescopes with focal ratios between f/9 to f/12 or higher. Large reflecting telescopes are often the “fastest” with focal ratios less than f/5 and down to f/2. An f/2 scope at the same magnification as f/8 produces an image 16 times brighter.
The “faster” the telescope is the brighter the view will be for a given magnification. F/10 or slower telescopes are commonly used on for bright objects such as planets where higher magnification is the main concern. F/5 or faster scopes are designed with deep sky objects in mind, trying to produce the brightest views of nebulas and galaxies. An 8 inch Dobsonian typically comes at f/6, a nice balance between seeing deep sky objects and allowing for the high magnification used on planets.
For more information please check out the page on magnification and exit pupil.
M 31 at F/7 and F/5 both at 20 x.

8. Finding an Object
Labeled Finder and Telescope Simulated Views of M 13 in Sky Guide
When starting out, finding and centering on an object in the eyepiece of a telescope can be challenging. Some people are naturals and quickly point telescopes at targets right from the beginning, but for most, it is a skill that takes time to develop.
Your telescope likely has a finder scope or a red dot finder of some kind. The finder should be adjusted to point in the same direction as the telescope. There are plenty of online videos describing how to align your finder. Once your finder is aligned, having an object centered in the finder should make it visible in the eyepiece.
When finding an object always start by using the longest focal length eyepiece to get the widest field of view possible. Once you see the object and center it in the eyepiece, you can switch to a lower focal length for a more magnified view. Using less magnification will provide a brighter and wider view making objects easier to find.
The best objects to start with are the Moon, bright planets such as Jupiter, Venus, and Saturn, and bright stars. Once you can point and center these, try finding deep-sky objects.
Deep sky objects are usually invisible to the naked eye and sometimes may be bright enough to see in a finder scope. Since most are not visible to the naked eye star-hopping is a good strategy. Pick a visible star as close as possible to the object and jump from star to star until you point to where you believe the object is. Many astronomy apps and software have simulated telescope views that can help ensure you are moving and pointing in the right direction. For Dobsonian telescopes, Astrophopper is a great way to turn a manual telescope into a smart telescope. This video does a great job covering how to use Astrohopper. Celestron’s star sense telescopes also integrate your phone to help point your telescope.


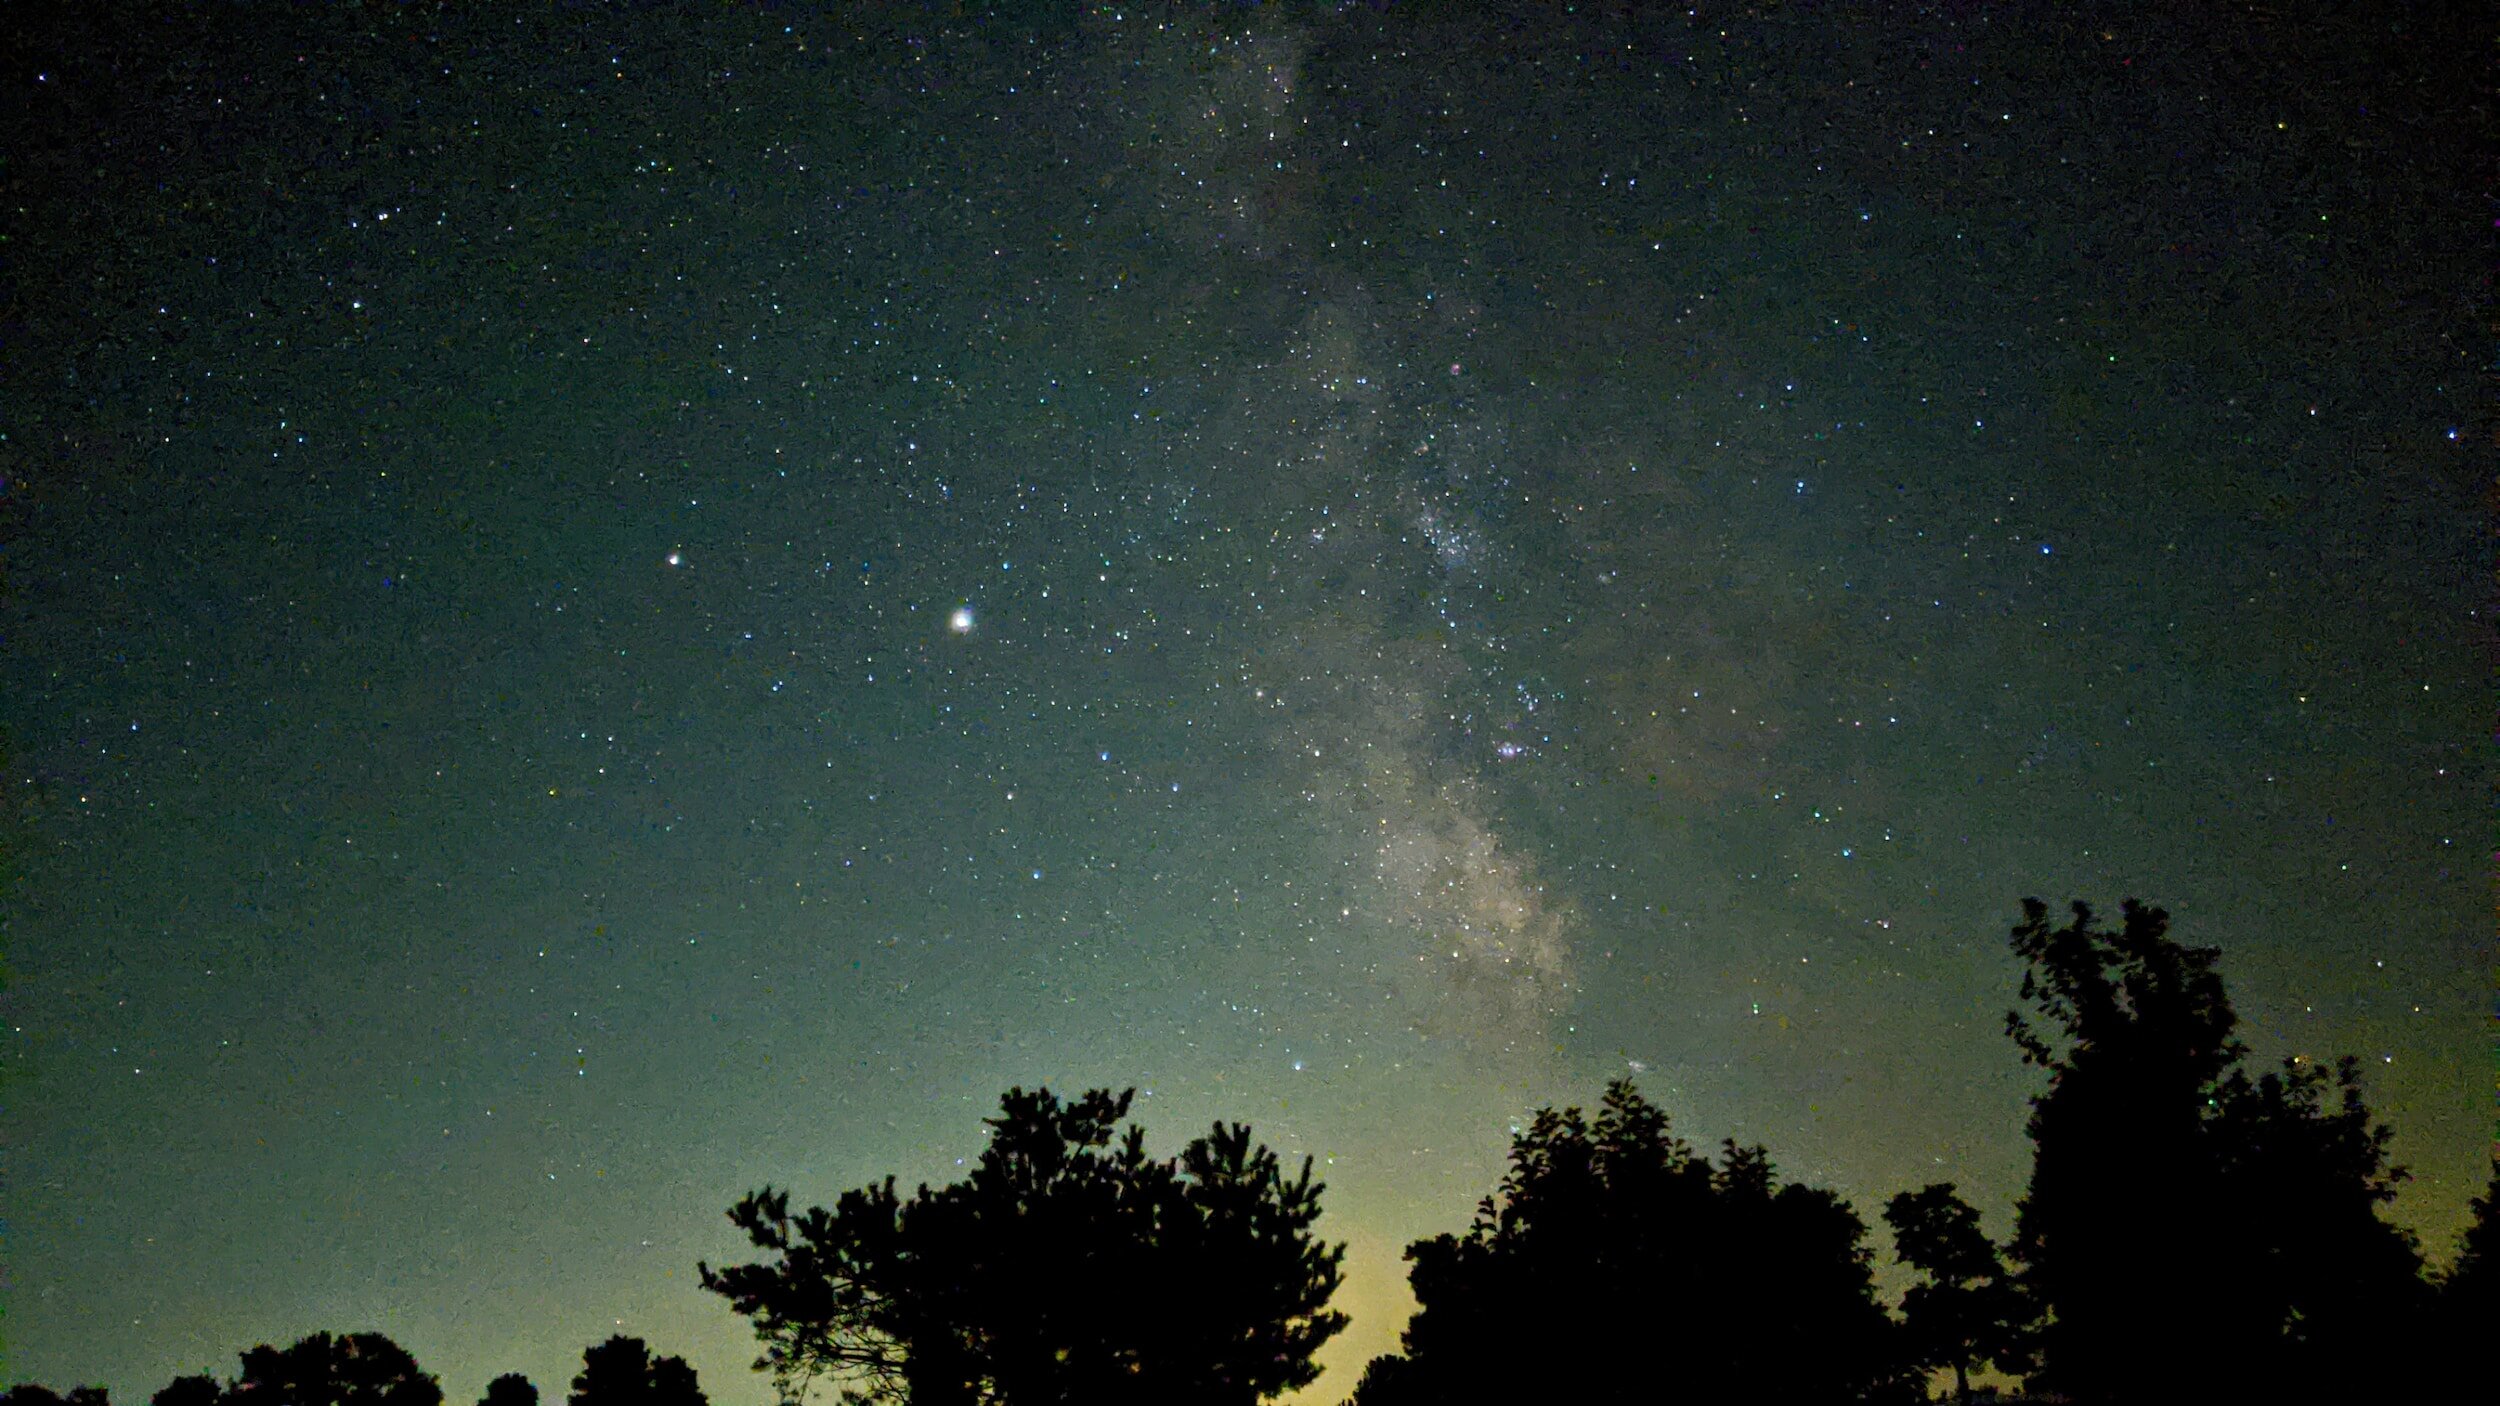
9. Learning to See and Averted Vision
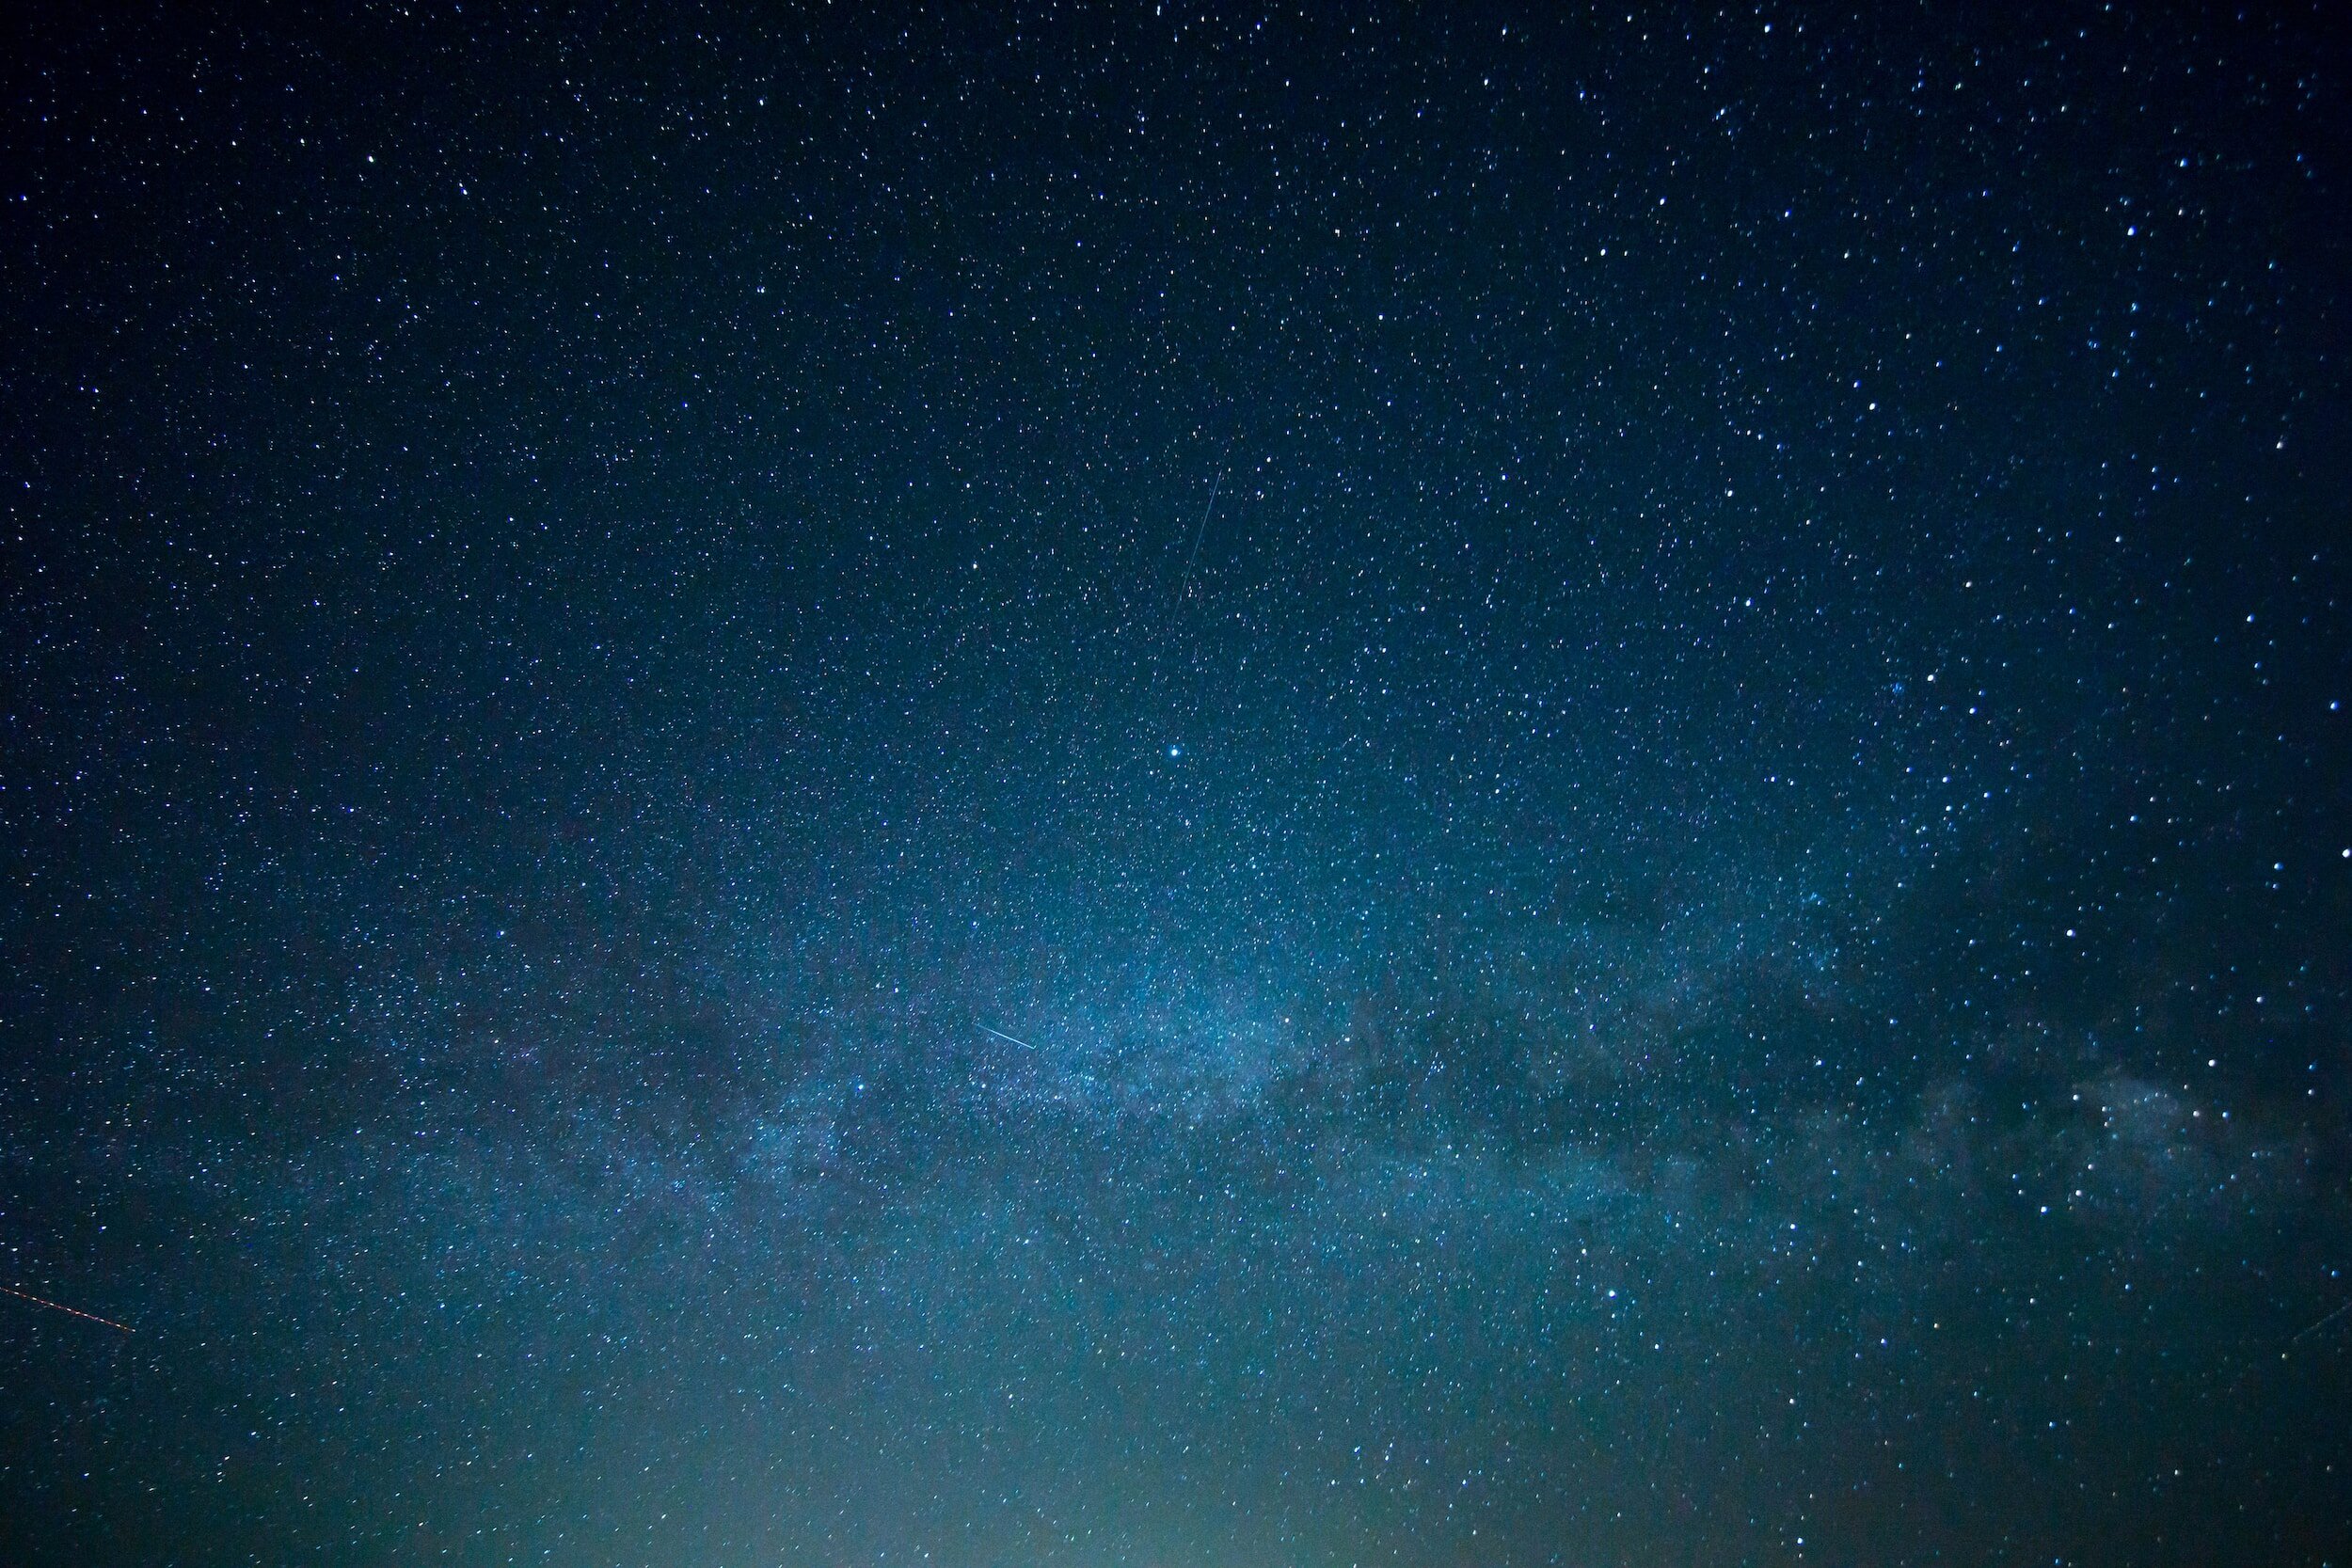
Relastic View of The Milky Way in a Moderately Dark Sky
Being able to see is a skill. Advanced observers will be able to see faint minute details in an object while a beginner may not be able to see the object at all.
Many deep sky objects are low contrast and appear just barely brighter than the background. Knowing what to look for can often make all the difference in being able to see an object. Check out the favorites under observing logs for realistic eyepiece views. A simulated view from an astronomy app or software can help you know what to look for.
Not looking directly at an object can help you see it. This is called averted vision. Looking slightly away from the object allows you to use your sensitive rod cells and see more faint detail. Even for the brighter deep sky objects this effect is easily noticed.
When observing galaxies, first look out for their brighter cores. If visible, the fainter extensions such as spiral arms can be seen with prolonged observation. Galaxies without central bulges do not have bright cores and are much more difficult to visually observe. Many galaxies only show faint structures such as spiral arms or dust lanes in very dark skies with the use of large telescopes.